Sunday, March 23, 2014

Caramel Brownie Bites!


Brownies must be one of my favorite desserts and they are without a doubt one of the most popular desserts in the world. It's not really hard to tell why brownies are so popular as they are so full of chocolate, easy to make and they just get better served with some ice cream or whipped cream.

These delicious chocolate squares first appeared in 1906 and many stories have been told about how the recipe started but nothing is certain. What's absolutely certain that brownies are heavenly and  can be easily tweaked to have different tastes and textures within the same gooey chocolaty theme.
 
Though I make lots of brownie batches I haven't so far posted a brownie recipe. While browsing the chocolate section in the supermarket few weeks ago, my attention was drawn to a caramel chocolate bar from Lindt and this was the source of  inspiration for my new brownie recipe and a truly decadent and sinful one it is.
The inspiration
For the brownie you need:
  • 75 g semisweet chocolate
  • 65 g unsalted butter
  • 50 g white sugar and 25 g dark brown sugar
  • 25 g flour
  • 1 egg
  • 5 g cocoa powder
  • dash of salt
  • 1/2 tsp vanilla
  • 1/2 tsp instante coffee


Line a 18x18 cm pan with parchment paper. Sift the flour and the cocoa powder and add the salt.

In a double boiler and over a gentle flame, melt the chocolate and butter. Add the instant coffee to the melted chocolate and butter mix and combine well until it dissolves. Coffee enhances the flavor of chocolate, but don't add too much as its powerful taste can mask all other flavors!

When the chocolate mixture has cooled, add the sugar followed by the egg and the vanilla. Mix until everything is combined well. Now add the sifted dry ingredients, and mix well.

Pour the batter into the pan and bake for about 10 to 15 min in a preheated oven (180C). I should note that I made a thin layer of batter but if you wish you can double the amount of the ingredients to make thicker slices of brownies. 

As the brownies cool make the salted caramel sauce using this recipe. However, I tweaked the caramel sauce a bit by adding only 200 ml of cream because I wanted it to be a bit thicker! You can also made the sauce a day ahead!
Pour the caramel over the cooled brownies and place it in the fridge for about half an hour or until the caramel sets! I needed about 150 g of caramel to cover the brownies.


The caramel layer will be topped with a thin chocolate layer for which you will need 100 g of any kind of chocolate, however dark chocolate works better as it balances the sweetness of the caramel.

Chop the chocolate bar into medium size pieces, put 3/4 of the amount in microwave proof bowl and melt for 30 seconds. Remover stir and again place the chocolate for 30 sec, repeat until the chocolate has melted now add the remaining chocolate and stir until all of the chocolate has melted.This is an easy way to temper the chocolate which guarantees that you will have a nice crunchy layer with no white spots over it.

Pour the chocolate over the cooled and set caramel layer. Put in the fridge again for the chocolate layer to set.
This recipe is  easy to make and before it´s done half of it will disappear, well at least this is what happened to the one I made!

Enjoy with a nice warm cup of coffee and a side of vanilla ice cream. Bon appetit. 

Thursday, February 13, 2014

Valentine´s Special: Sweet Treat.


Love songs, old movies, romantic dinners followed by  romantic walks, roses and red hearts represent what Valentine's day is all about. This special day cannot be celebrated without some great food made with that special and magical ingredient called love.   

Drawing inspiration from Valentine and all the images that spring into your mind when this holiday is mentioned, I decided to make adorable cupcakes shaped like hearts and roses and serve them with a red sauce made with either strawberries, raspberries or sour cherries as the perfect accompaniment for the sweet vanilla cakes.

I love sour cherries. Their tart flavor and  slight sweetness makes the perfect sauce to go with the vanilla cake, the marriage of flavors is blessed by none other than Cupid himself!

Unfortunately fresh cherries are very difficult to find out of season, but luckily, the jarred ones are available year round in supermarkets. Just pick a jar of the brand you love the most and with minimal effort you will have the perfect Valentine sauce.


For the cupcakes you need:
  • 110 g soft butter
  • 100 g sugar (I used vanilla-infused white sugar)
  • 2 eggs at room temperature
  • 120 ml milk
  • 1 pod of vanilla or 2 tsp of vanilla essence
  • 8 g baking powder (around 2 tsp)
  • dash of salt

Firt sift the dry ingredients together and set aside. Cream the butter and sugar then add the eggs, one at a time. When all combined fold 1/3 of the flour mixture, then 1/2 of the milk, then 1/3 of flour, rest of the milk and finish with the last 1/3 of the flour.

Pour the batter in the cupcakes tins and bake for about 15 to 20 minutes, the baking time varies between ovens and size of cupcakes. When baked, the cake must spring slightly to the touch of your finger. 

For the sauce you need: 
  • 250 g sour cherry (or any other berry fruit)
  • 50 g sugar
Mix the sugar and fruits and let them simmer on a low heat for about 20 minutes. Serve the sauce when it's cooled.

I prepared a simple cream cheese frosting with just cream cheese, a little bit of powdered sugar and vanilla. A little bit of this frosting goes a long way and are perfect to top and decorate these mini cakes with or to decorate your serving plates.

To serve the cupcakes, pour some of the sauce on a plate, add the cake and decorate with the frosting. Add as much or as little as you want of the frosting. Personally, I piped the frosting into tiny rosettes.

Serve this cupcakes to your loved one at the end of a romantic meal.

From me to all of you: a big shout out to Love!

Wednesday, February 12, 2014

Valentine´s Special: Savory Dishes


For most the ideal way to pass Valentine's would be over a romantic dinner with your significant other. With this spirit in mind, I decided to make a complete romantic dinner menu starting with savory dishes and ending with a sweet note.
The way I see it, a romantic dinner should never be heavy or too filling but should be light and flavorful.

My romantic dinner starts with two savory dishes: a starter of baked asparagus and a main of Salmon with pesto sauce. and

Let's tackle the starter. I chose to make some asparagus wrapped in a delicious buttery puff pastry with a drizzle of a tweaked pesto sauce.

The ingredients of the starter:
  • Asparagus (4 per person)
  • Puff pastry (there is a time and  place for home-made puff pastry, but a good quality store bought will save you the hassle)
  • Salt and pepper
  • Dried herbs (a mix of Mediterranean herbs would be the best)
  • Some parmesan cheese to sprinkle on  top
  • Cream to brush the pastry
First you need to prepare the pastry, my pastry was already rolled out to aout 1/2 cm thick, this is the thickness you need,  just  and cut 1 cm wide strips of pastry with almost the same length as the asparagus.
Remove the woody end of the asparagus and wrap the pastry strips over them in a corkscrew fashion.   Brush the pastry with cream, sprinkle with some salt, pepper, dried herbs and finally sprinkle with some cheese.

Bake in a preheated (200C) oven for about 20 to 25 minutes or until the dough is slightly golden and the cheese is nicely colored. 
Serve the baked asparagus with a simple vinaigrette sauce or use my tweaked version of pesto sauce which you can prepare by mixing well one teaspoon of pesto sauce, one teaspoon of balsamic vinegar  and 3 teaspoons of extra virgin olive oil. Drizzle the sauce over the asparagus or put some over the serving plate. 

For the main dish of salmon and pesto you need:
  • 2 salmon fillets (250 g each)
  • 20 g of mixed pine nuts and walnuts (slightly toasted)
  • 20 g of basil leaves
  • 1 garlic clove
  • Squeeze of lemon
  • Salt and pepper
  • 2 tsp of olive oil
  • Just a tiny grate of parmesan

To make the pesto base combine the garlic, salt, walnuts, pine nuts and squeeze a tiny bit of lemon. With the pestle work these ingredients together to form a paste then add the oil and the grated cheese. Usually, pesto has more cheese than I recommend using for this specific recipe. However, salmon is an oily fish and if you add too much parmesan the end result would be a bit heavy, so to keep things on the lighter side I reduced the amount of cheese.
Once your pesto is ready, all you need to do is to cover the salmon with the pesto and bake for about 15 min in a preheated over (200C). Check the internal temperature of the fish with a baking thermometer if you have one and it should read 65 C for a perfectly cooked and moist salmon.


If you don´t have the thermometer, don't worry, you will know the salmon is cooked to perfection when it starts releasing some of its oil. When this happens, take it immediately from the oven. Allow the fish fillet to rest a couple of minutes before serving.

I served the salmon with some hasselback potatoes but you can serve them with sauteed carrots, peas or green beans. Additionally, I added some small hearts made with puff pastry just for prettier presentation.

I am confident that these two dishes will satisfy your palate and will be perfect for your romantic Valentine's dinner. 

The dinner is not over yet, the all important sweet treat is waiting for you, catch it in the following post. 
Bon appetit. 

Thursday, January 30, 2014

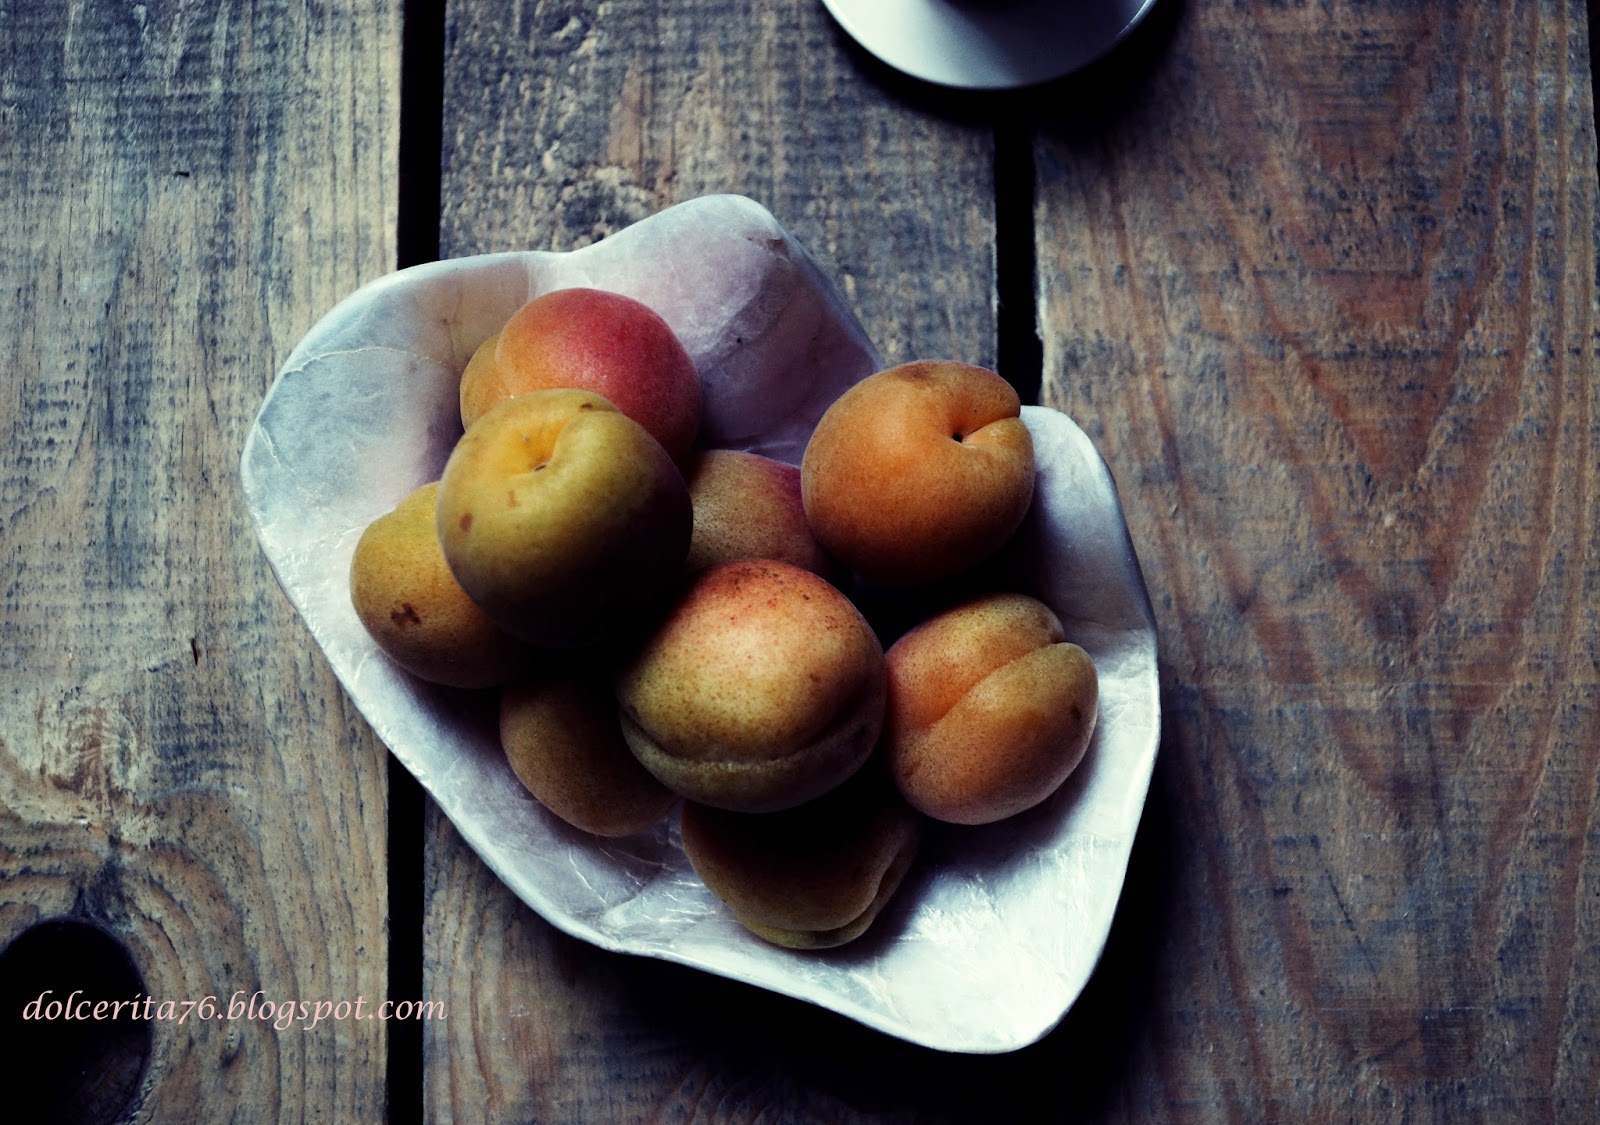
Apricot buttery bars


Post-vacation depression, is what I have been experiencing the past 2 weeks! Going back to work, leaving the family behind and waking up early to a cold and gloomy weather. So to escape from all this what is better than some comfort food?


Thinking about the perfect comforting recipe, I recalled scenes from my childhood. My grandma had a tin box that used to be filled with all sort of goodies but what I liked the most was the buttery squares filled with apricot jam which she used to prepare herself. Without a doubt, it was the best apricot jam I have ever tasted. My mother used to make those squares too, almost every week. The recipe was easy and made good use of the many apricot jam jars she had in the cupboard. Randa, or Randa pie as  the recipe was called was a favorite of mine while growing up. I am not sure about the name and its origins, but what I am certain of is the recipe's yumminess and comforting credentials. These apricot buttery bars were the cure I needed, the comfort I longed for, even though I lack a key ingredient: my granny's wonderful jam.


For the recipe you need few ingredients and few easy steps, but the result is more than satisfying. For 18 cm round pan or a 15x15 square pan, you need:


  • 150 g flour
  • 100 g unsalted butter
  • 75 g powdered sugar
  • The zest of half a lemon
  • Seeds of a half vanilla pod
  • dash of salt
  • 100 g apricot jam (you can use any other jam you like)
  • Slivered almonds (just few to sprinkle on top)

Slightly butter your pan and sprinkle with flour. In a food processor combine all the ingredients but the jam, and pulse for a minute or two. Transfer the mixture, which is still rather sandy at this point, to your working surface and slightly work the dough until it comes together. You don't need to knead the dough, you want it to come together with some little effort and time.


Use 3/4 of the dough to cover the bottom, it will be about 1 cm thick, spread the jam, then with a big hole grater, grate the remaining over the jam layer, then add the chopped almonds.
Chill the dough you want to grate for about half an hour to make the grating easier, or you can add some more flour.


Bake for about 30 minutes in a preheated oven (180). As always baking time depends on the oven, so keep a close watch over your tart, you don't want it to burn but to have a golden color.


These squares keep well for about a week  in air-tight container. Serve them with a hot drink, whipped cream or just plain natural and indulge in the buttery and fruity comfort.

Wednesday, December 25, 2013

Merry Christmas!


Christmas is upon us, the season of joy, love, hope and much more. Christmas is also a season food lovers hold close to their hearts and it's not difficult to know why.

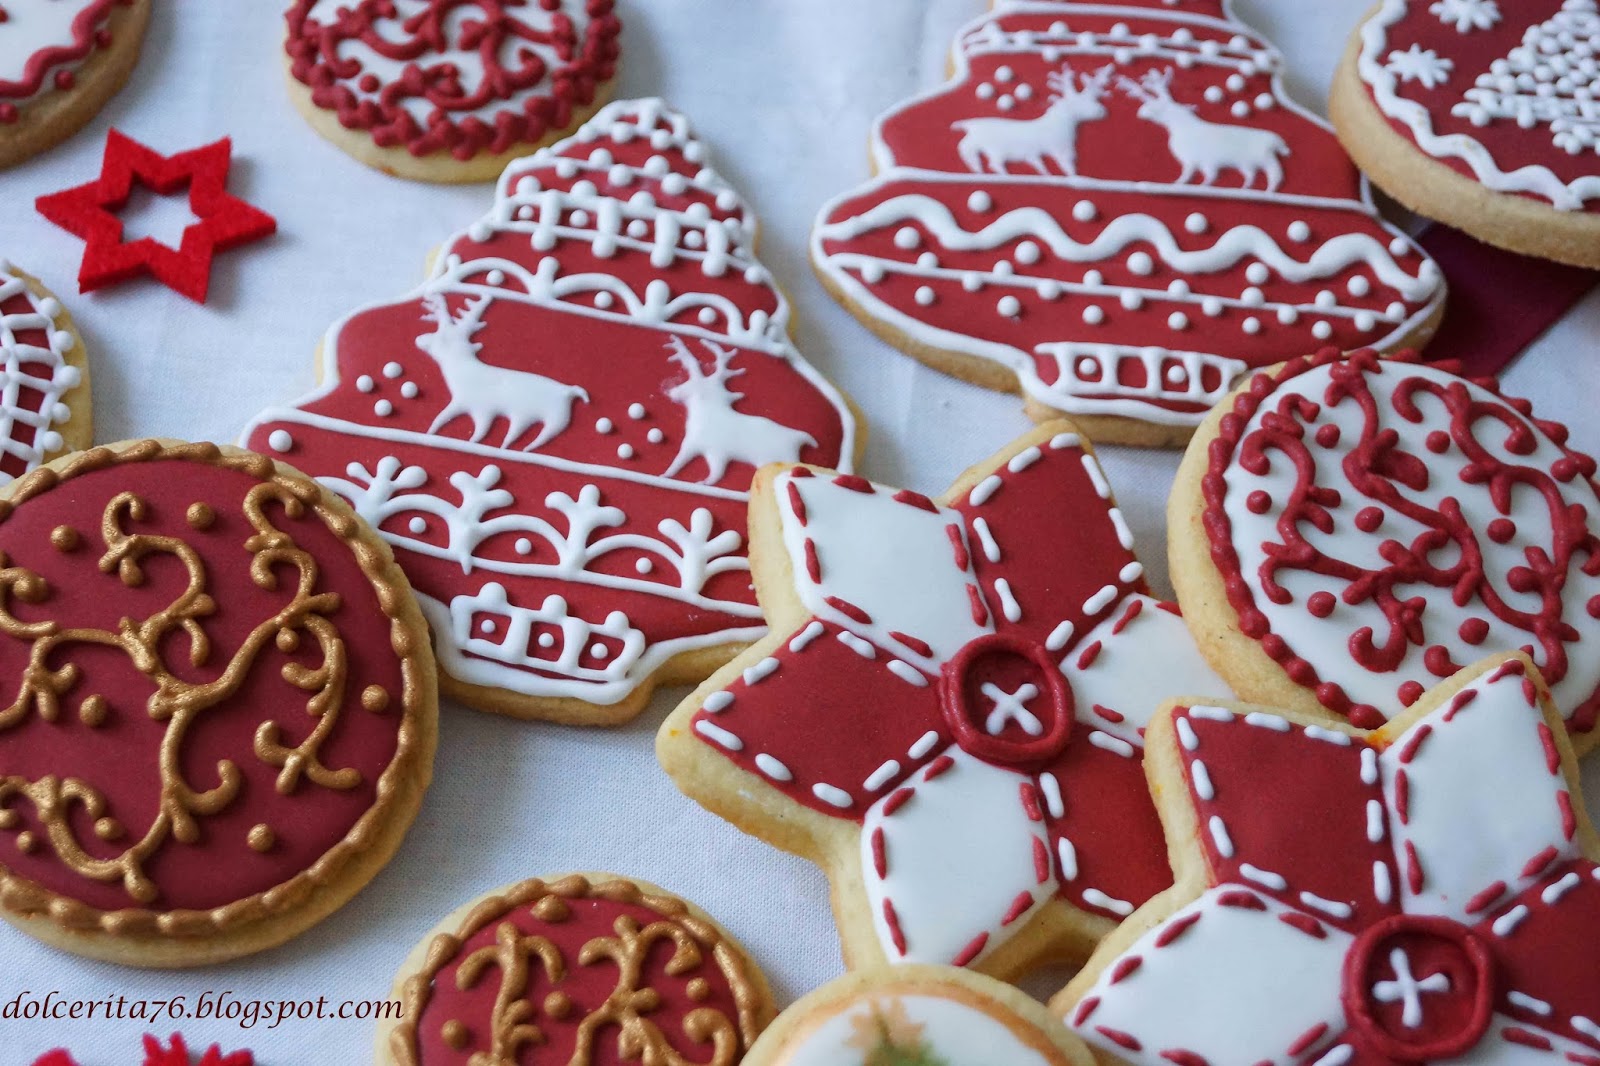
As a gift for all my readers, I made a batch of decorated cookies featuring themes and motifs that are inspired by this occasion. 

I hope this pictures inspire you, as the magnificient Amber Spiegel from sweetambs inspired me, to make an extra effort and decorate some cookies to give as gifts to your family and friends.

Have a very Merry Christmas and an extra great start of the new year 2014.


Sunday, December 1, 2013

Maple and spicy fall cookies!


I´m the type of person who can enjoy every season with all that it has to offer, but autumn has always been closer to my heart. The colors of trees as they change from bright green to fiery red, the smell of earth after the first rain, the cool weather announcing the bitter cold to come, and the memories, the wonderful childhood memories: the harvest in my village, the fragrant smell of pine trees that fills the air after the first rain (trees that have been clear-cut unfortunately) and so much more.


I like to wander off in the lovely parks of Madrid during this time of year and recharge my soul with all the lovely colors, sights and smells. It also gives me time to reflect and ponder as well as start thinking about my next recipe. For some reason, some ingredients evoke more autumn than others, especially aromatic spices, although I use them all year long but somehow they smell and taste better in autumn.
The beautiful autumn color in The Retiro Park of Madrid
Cloves are one of my favorite spices. I still remember the wonderful smell that would come out from window kitchens in my village  by the end of September after they harvest figs and make the best fig jam you could ever taste, using cloves to elevate their flavor from excellent to heavenly.


So to honor all the things I love about autumn, which is about to give away to winter, I thought of this cookie recipe, it´s the regular sugar cookie recipe but with some slight changes. I worked on the design to complement the theme autumn theme as I got inspired by the work of Amber Speigel.

For the cookies you need (I made half of the recipe yielding around 14 cookies ):
  • 400 g flour
  • 200 g soft butter
  • 1 egg at room temperature
  • 90 g powdered sugar
  • 1/2 tsp freshly grounded cinnamon
  • 1/2 tsp freshly ground cloves
  • 1/4 freshly ground star anise
  • 20 g maple syrup
  • dash of salt

First, cream sugar and butter using and electric mixer. Mix the egg and the maple syrup and incorporate into the butter and sugar mix. Combine the two mixes well. Now you will add all the dry ingredients and mix till they come together making sure you not to over-mix otherwise you will have hard cookies.

Bring the dough together on your working surface, wrap it in plastic and leave it in the fridge for at least one hour. Now roll the dough into 1/2 cm thickness and put it again in the fridge again for an additional  hour.
Take the dough out of the fridge and cut it using your favorite cookie dough cutter. In order for the cookies not to lose their beautiful cut shape as they bake, you have to chill them again for an hour in the fridge or 1/2 hour in the freezer.

Remove the cookies from the cold and put them in a preheated oven at 180C. The baking time will  will depend on the cookie size and how cold they are! Take a peek at the cookies, and when cooked they should look dry and have a slight coloration. The cookies I made took about 10´.

If you decided to decorate the cookies as I did, click here, Amber has one of the best cookie tutorials, I´m learning a lot from her! 

When I decorated the cookies I also scented my royal icing with the same spices I used in the cookie dough and trust me the result won't disappoint you.


Monday, November 25, 2013

Chocolate Pumpkin Cake

It's thanksgiving season, an all American holiday. This day is deeply linked to American history and relationship with the Native Americans.
History part aside, I like this holiday for two reasons:
  • It's a precursor of my favorite season of the year which is of course Christmas time with all its colors, joy, hopeful nature and of course all its sweets.
  • Thanksgiving food, whether savory or sweet, pays a homage to earthy robust flavors and the use of fall produce such as pumpkins. I am a fan of such flavors and recently I'm trying to develop as much recipes as possible to show their true potential. 
Traditionally, pumpkin pies accompany most Thanksgiving meals, but I opted for a cake instead of a pie that marries the deep flavor of chocolate with the sweet earthy flavor of pumpkins.


Without further adieu,this is what you need to make the cake:

For the sponge:

  • 3 eggs at room temperature
  • 140 g granulated sugar and 60 g dark soft brown sugar
  • 150 g melted and browned butter (melt it over a gentle heat and leave it to become brown in color and nutty in flavor, be careful not burn it)
  • 180 g sifted flour
  • 30 g cocoa powder
  • 225 g pumpkin purée
  • 8 g baking powder
  • 90 g melted and cooled chocolate
  • 2 tsp cinnamon
  • 1/2 tsp freshly grated nutmeg
  • dash of salt
  • tsp of vanilla extract
  • 3 tbsp maple syrup


For the frosting you need:
  • 300 g cream cheese (room temperature)
  • 100 g butter (room temperature)
  • 150 g salted caramel (or more if you want a sweeter result)
  • 50 g powdered sugar

For the sponge, first combine all the dry ingredient, mix well, set aside. Beat the eggs with the vanilla and slowly start adding the sugar. Keep beating until the egg mixture doubles in volume and becomes rather thick.


Add the chocolate and mix at low speed. Turn off the mixer, add the butter and mix slowly till well combined, fold in the flour, then the pumpkin purée and the maple syrup.

Pour the batter into 3 greased and lined pans (about 18 cm) if you don´t have 3 pans, divide in 3 equal amounts, bake the first batch while the rest is in the fridge. They need about 25 min in a 180C oven.

For the frosting, start mixing the butter and cheese, add the sugar and then the caramel. Mix until well combined. Leave in the fridge for at least half an hour before you frost your cake!

I  brushed each layer with some caramel then added the frosting and finished with a drizzle of caramel over the frosted cake!

Creamy, fudgy, with an exquisite blend of flavors, a perfect cake for thanksgiving or any cold autumn day, a very comforting cake indeed!

Monday, October 28, 2013

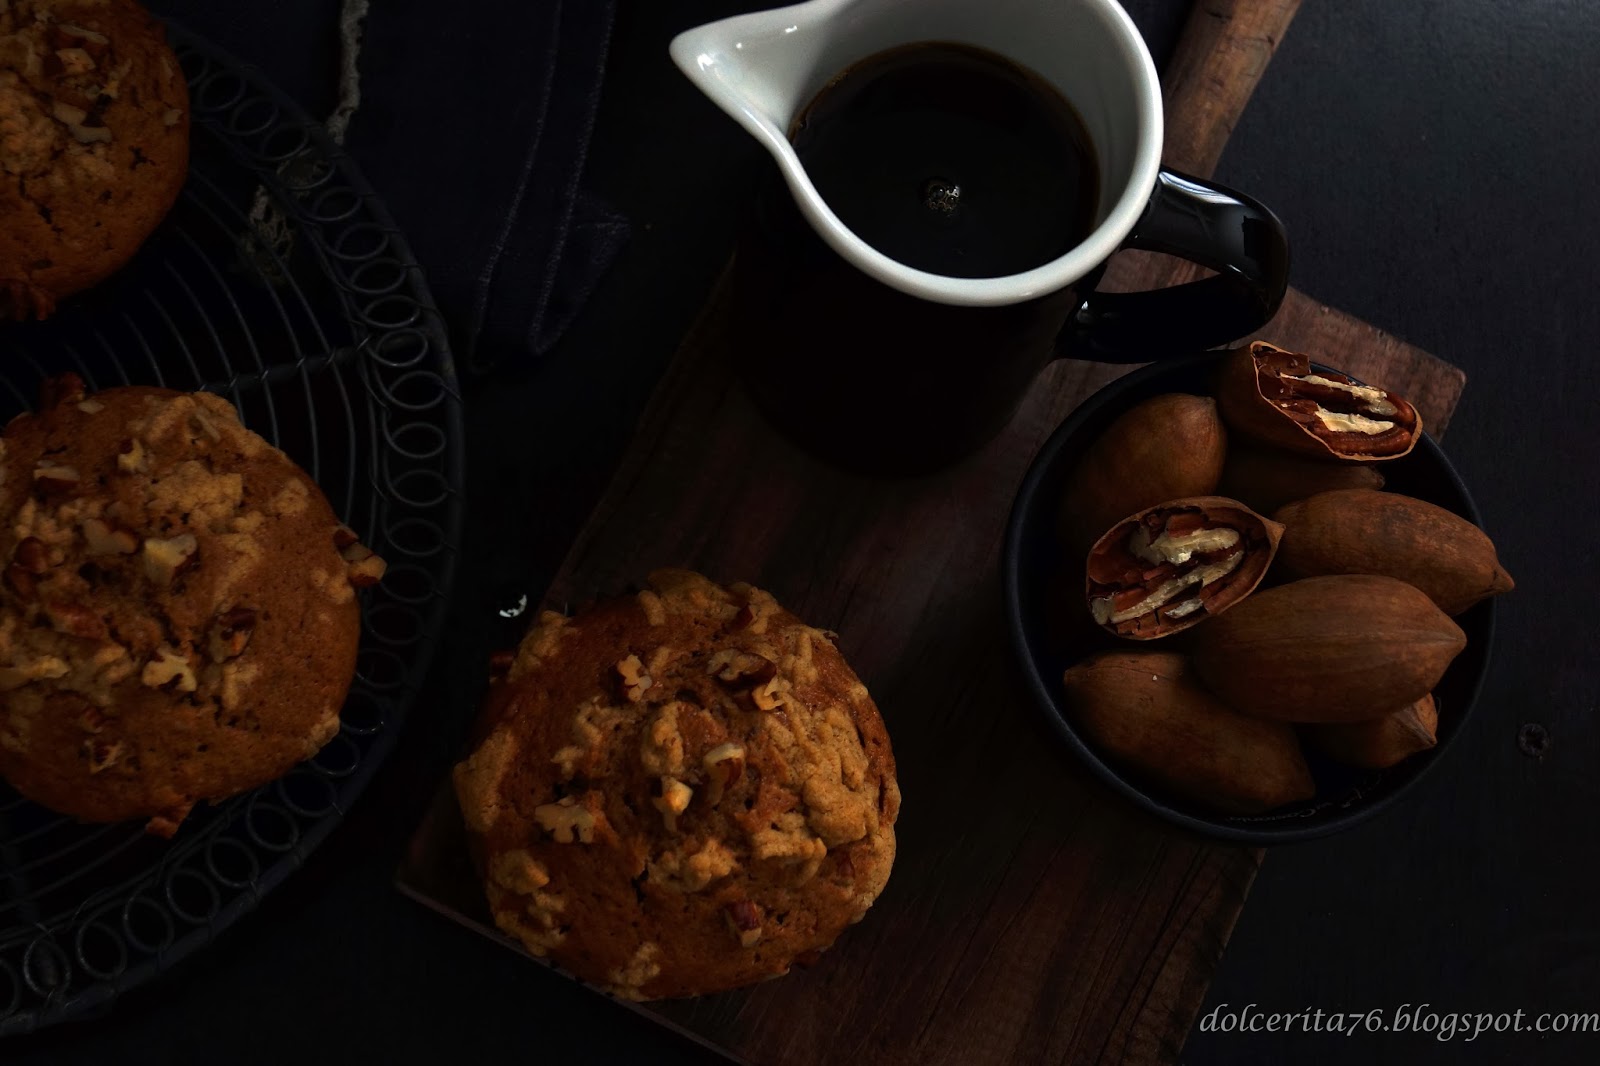
Spicy Pumpkin muffins, a treat for Halloween!


It's Halloween season and just about everywhere you are reminded of this special day. Traditions play an important role and certainly the food traditions of Halloween are numerous. Pumpkins are used extensively on Halloween as a decorative element and in many recipes that are usually served for the occasion.

While growing up, we never used pumpkins in sweet dishes, however, few years ago I started experimenting with pumpkins as a main ingredient in sweet baked goods; the result was great, so I keep coming back for more.


I still use pumpkin mainly in savory dishes such as in soups, hummus dips or by roasting them as a side dish. As Halloween is approaching I decided that it is time for another sweet pumpkin dish.

You know how I always praise the versatility of muffins, don't you? Well it is for a reason: you can make muffins using just about any ingredient you like and pumpkins are no exception. I worked on a recipe that would do justice to this autumnal ingredient and would be also perfect for Halloween, thanksgiving or just about any day.


Before making the muffins, you need to make a pumpkin  purée, which is super easy to cook up. You just cut the pumpkin in half, scrape the seeds, brush it with olive oil, cover it in tin foil and put it in a preheated oven (200 degrees C) between half an hour or an hour depending on the size of the pumpkin.


 For about 5 muffins you need:
  • 1 large egg, room temperature
  • 110 g sifted flour
  • 3 g baking powder (a tsp)
  • 75 g brown sugar
  • 35 g or ml of olive oil (mild one, or you can use any vegetable oil)
  • 60 g pumpkin purée
  • 1 tsp cinnamon
  • 1/4 tsp of cloves and 1/4 tsp star anise, freshly ground
  • 1 tsp cocoa powder (optional but it does give a depth of taste)
  • 30 ml of cream (or milk)
  • Dash of salt
  • 1/2 tsp vanilla

For the topping you need:
  • 12 g brown sugar
  • 12 g cold butter
  • 25 g flour
  • 1/2 tsp cinnamon
  • 10 g chopped pecans
  • pinch of salt

Mix the flour, baking powder, salt and spices and set aside. Whisk the sugar with the oil until well blended, then add the egg and whisk again. Incorporate the pumpkin purée and blend. Add 1/3 of the flour mixture, mix, then add half of the wet mix followed by 1/3 of flour and finally the rest of the wet mix and the last batch of the flour mix.

For the streusel topping just mix all the ingredients but the pecans with your hands or a dough mixer.
(The quantity was more than enough for the muffins, I baked the rest and it made delicious biscuits!)
Pour the batter in the muffin tray, sprinkle the streusel (topping) and the pecans, bake in a preheated oven (200 degrees C) for about 15 to 18 minutes.

A soft and spicy muffin, with a nutty and crunchy top, it's the perfect dessert for this holiday and it would definitely make a great breakfast meal or a light snack.

I recommend you try them with some cream cheese or whipped cream and with a drizzle of maple syrup!